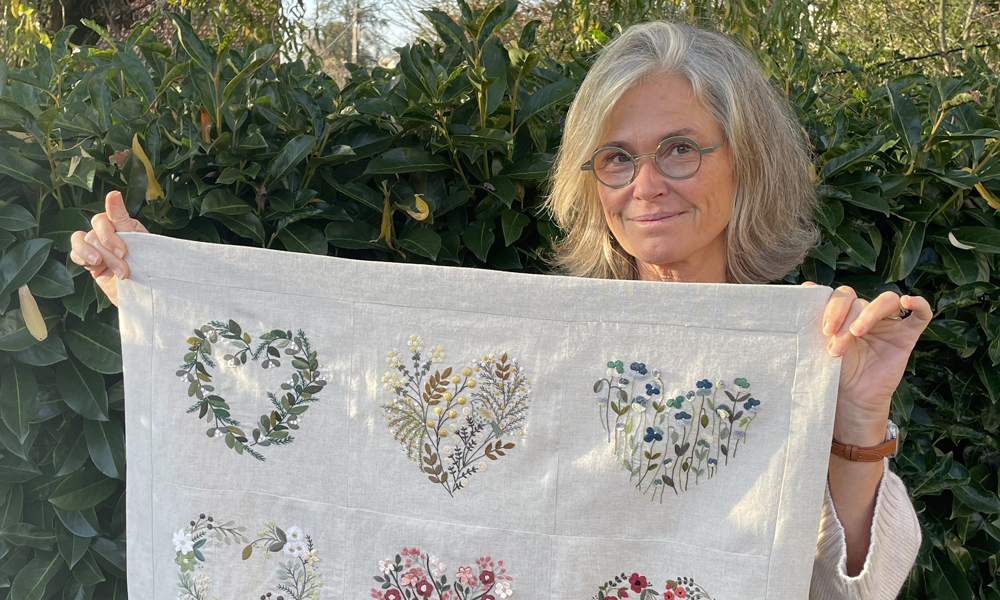

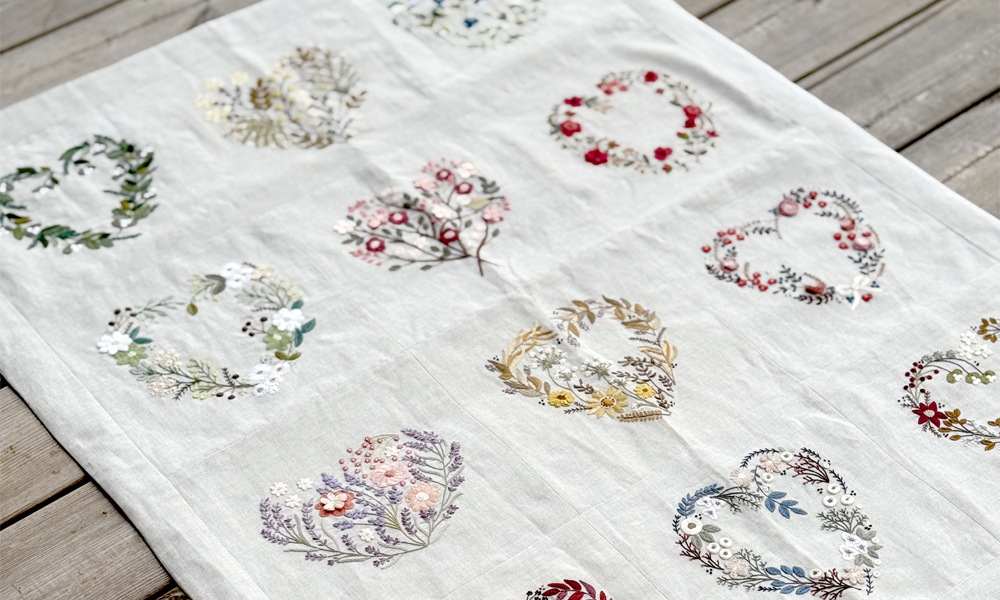


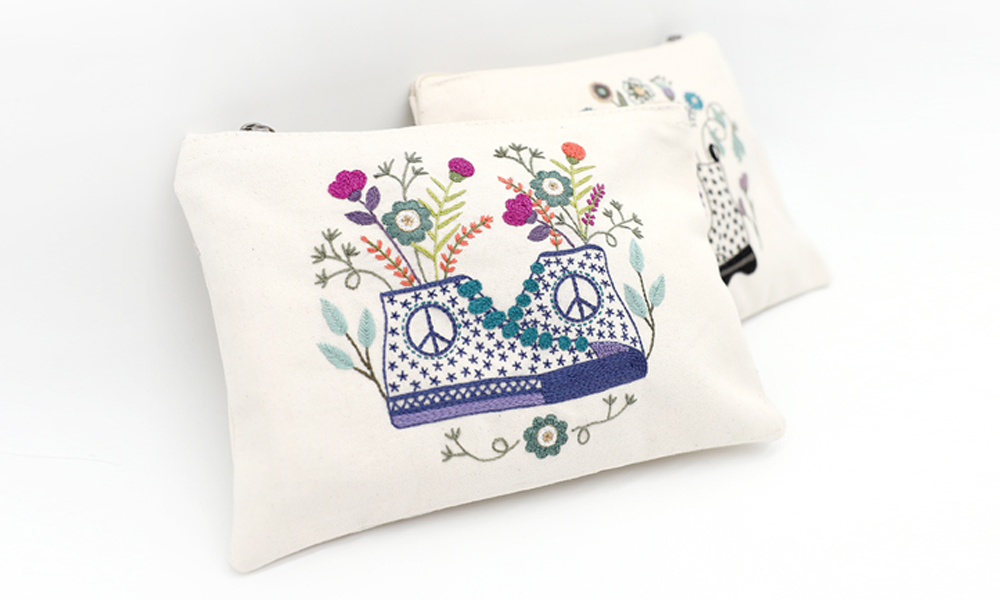


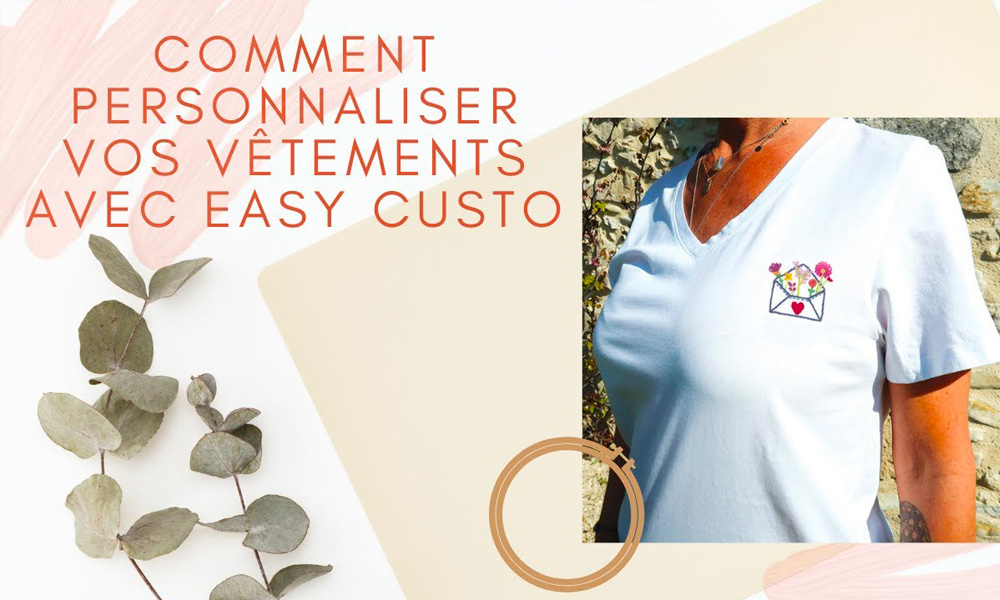
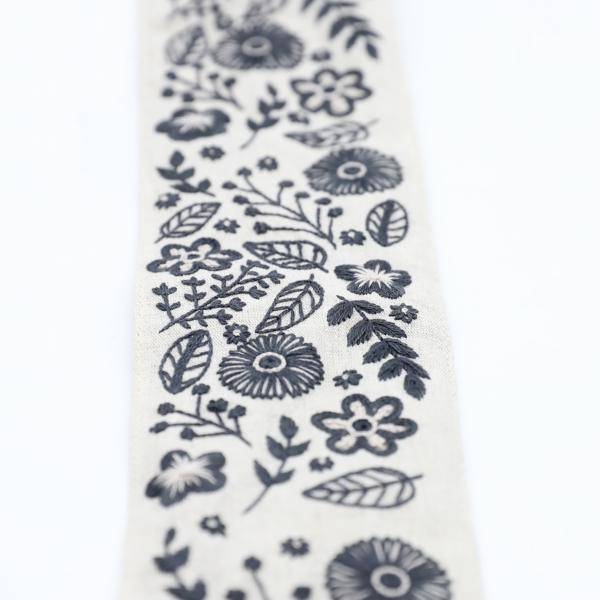
 Sew your embroidered headbandWant to create a unique and personalized accessory?
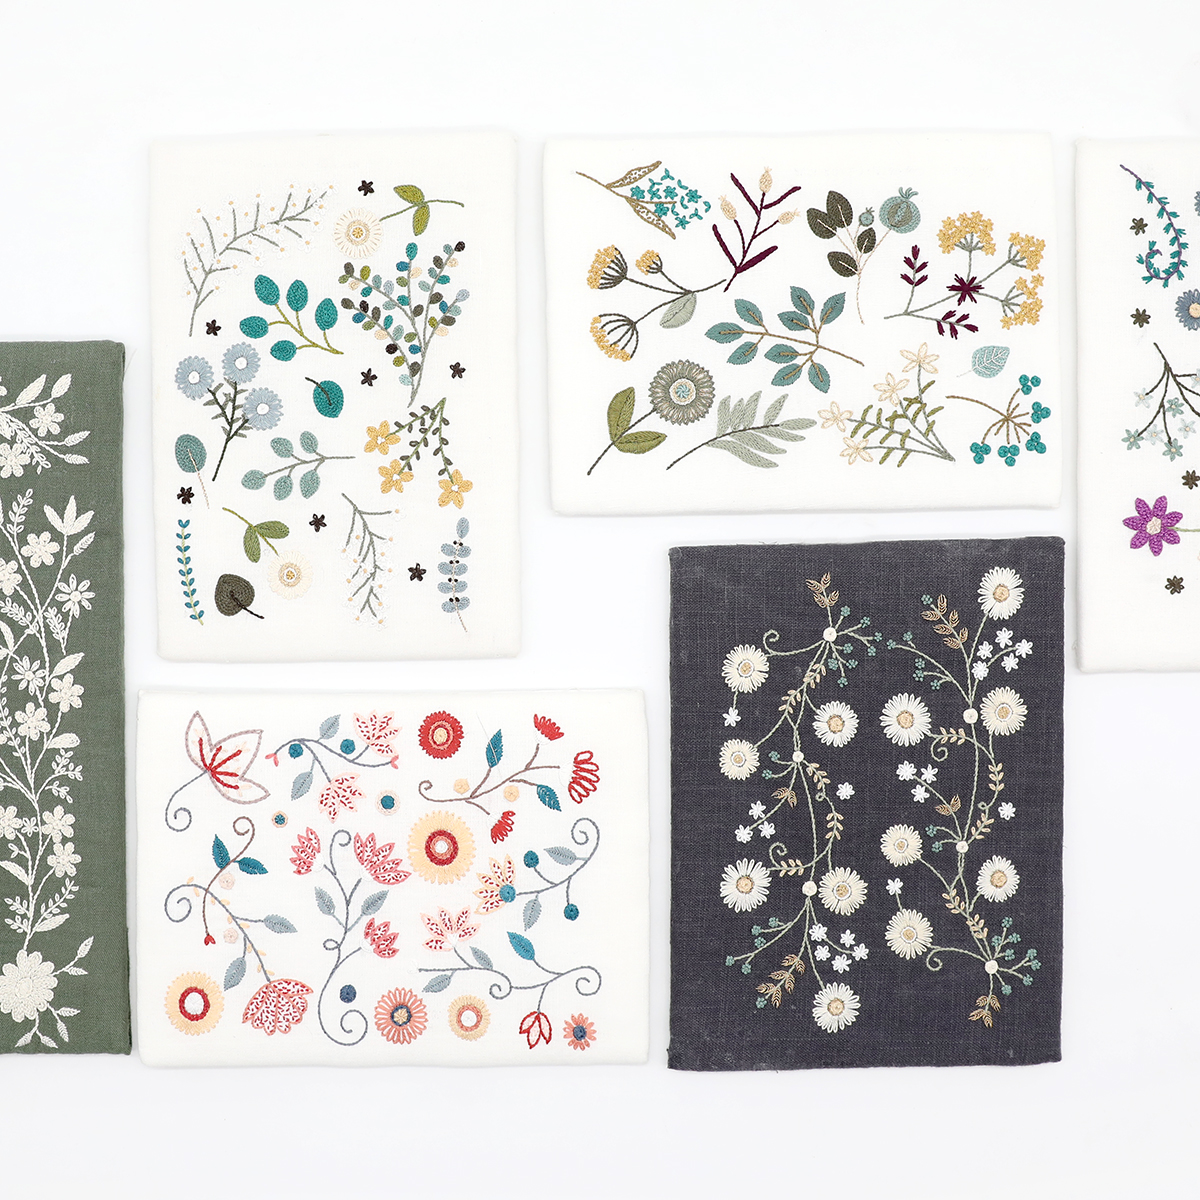
With our embroidery bands or the Easy Custo collection, you can easily make beautiful embroidered headbands… or even a charming belt!
Our step-by-step tutorial guides you through sewing your headband quickly, whether you’re a beginner or more experienced.
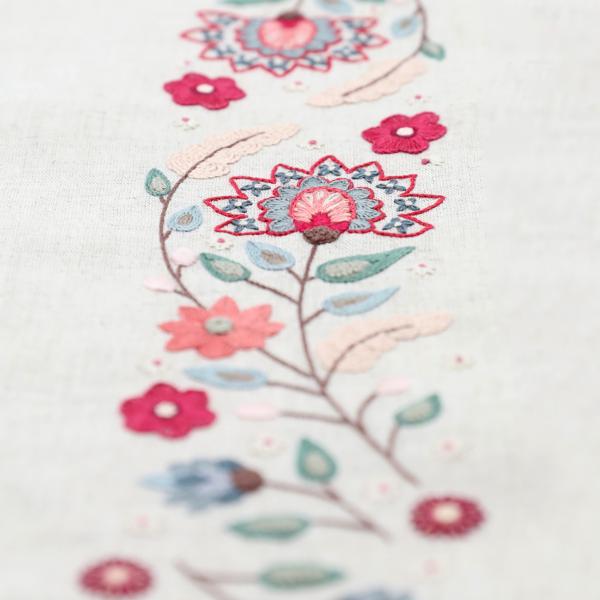
Before you start, complete your embroidery and don’t forget to wash your fabric: let it soak in lukewarm water for 30 minutes or simply run it through the washing machine — and your project will be ready to sew!
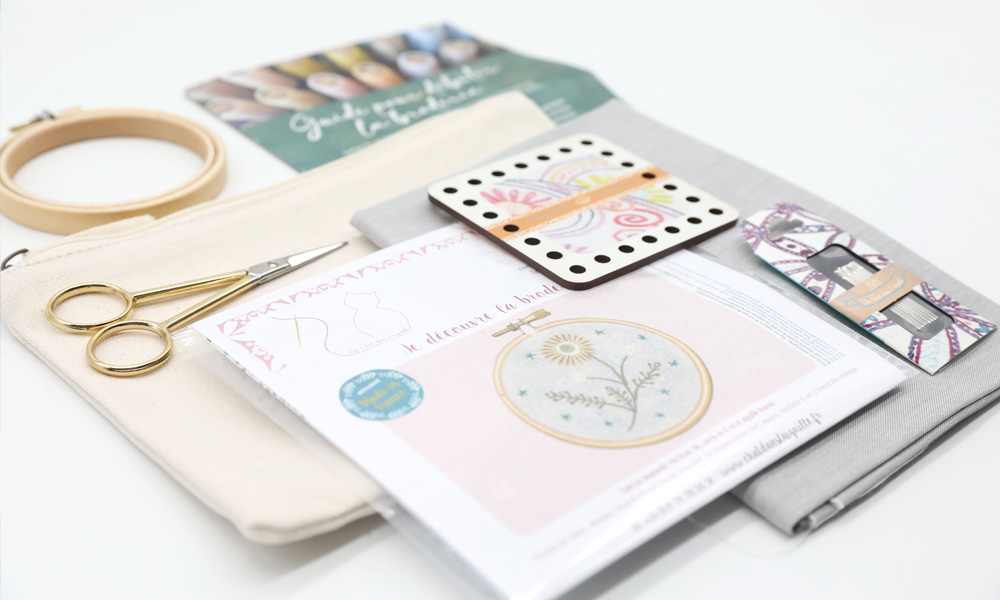
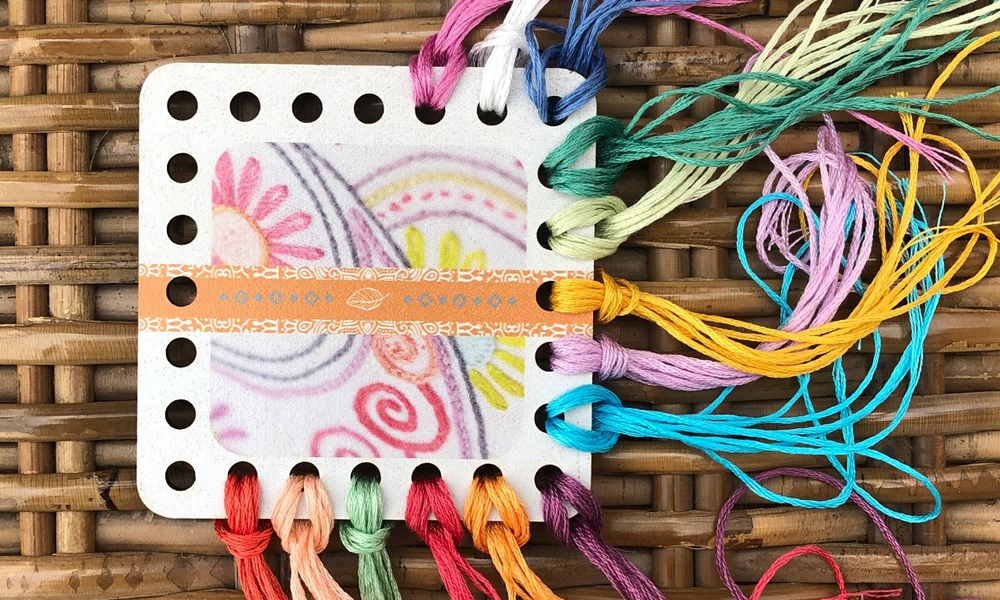
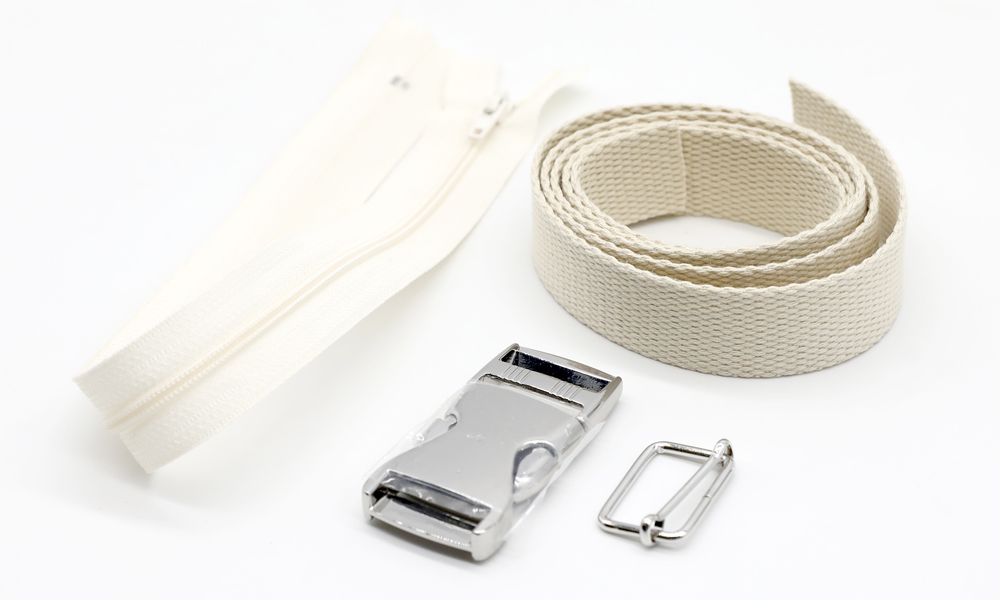
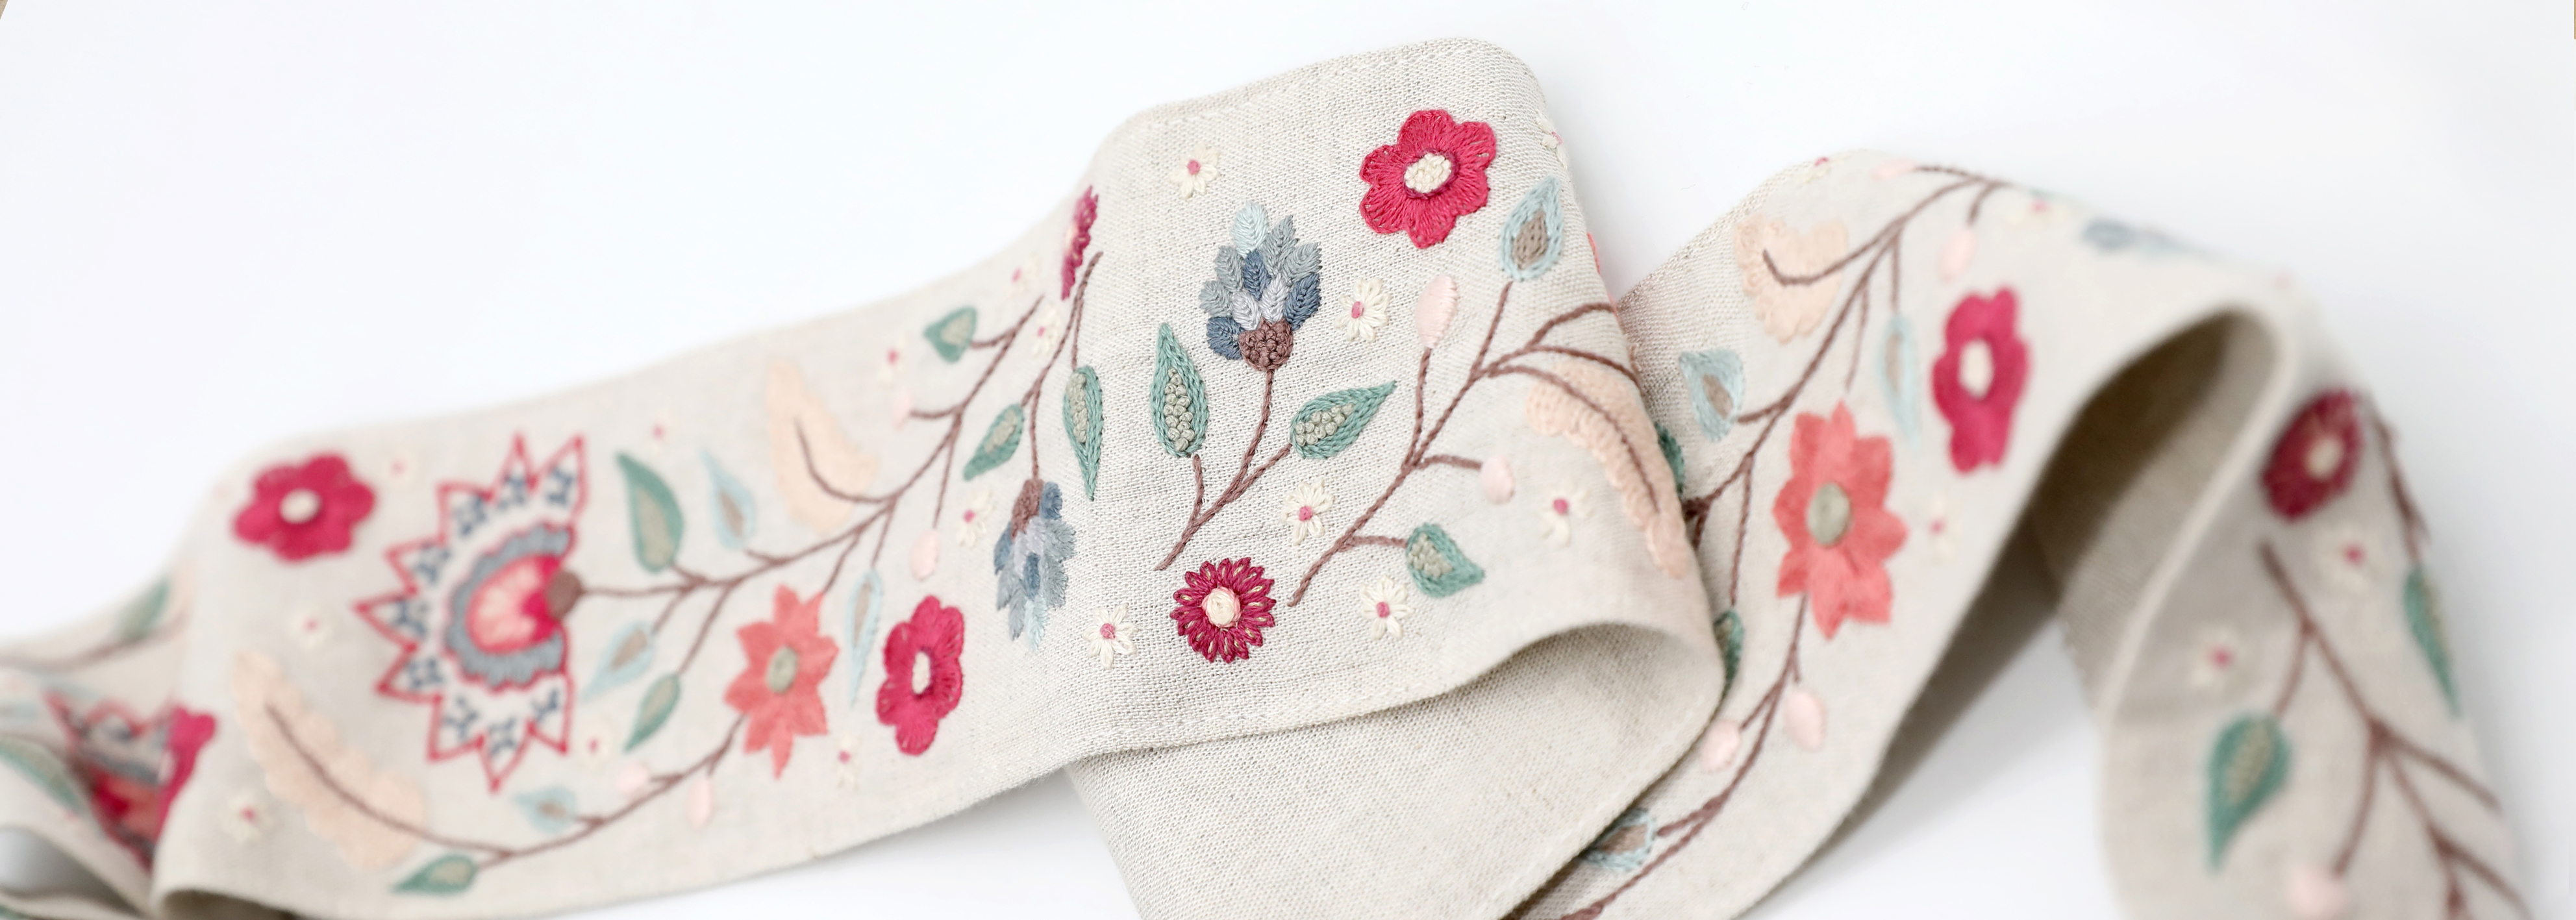
Supplies 1 embroidery band, size M
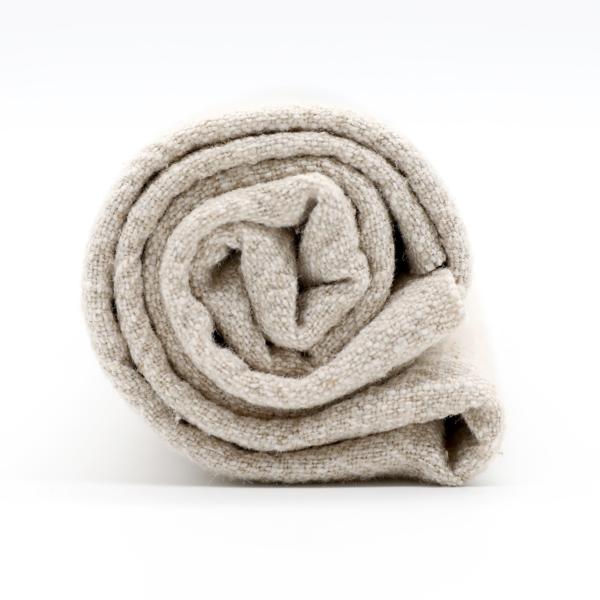
2 pieces of fabric, 40 × 17 cm (we suggest using Métis bis to match the tones) OR 1 strip of fabric, 17 × 150 cm  In the diagrams of this tutorial, here’s how to tell the right side from the wrong side of the fabric! 1  Cut two rectangles measuring 40 × 17 cm. Sew each one to an end of your embroidered band, right sides together.  Press the seams flat with an iron. 2
 Fold the entire strip in half lengthwise, right sides together. 3  On both ends, draw a harmonious shape.
Tip: a point, a curve, an angle... Let your creativity shine!
 4  Sew along the sides and ends, 1 cm from the edge, leaving an opening of about 10 cm to turn the piece right side out. 5
Trim the excess seam allowance all around, then turn the headband right side out. Hand-stitch the opening closed with an invisible stitch for a neat finish. 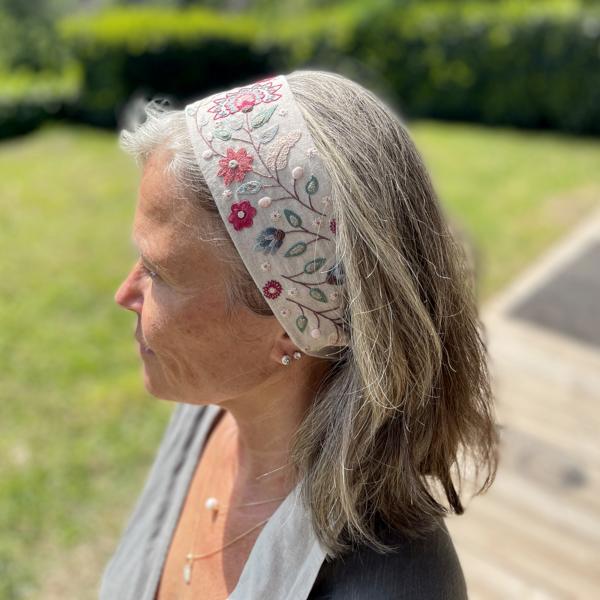 And there you have it—your embroidered headband is ready to wear!
Feel free to share your creation with us! Use the hashtag #UnChatDansLAiguille to show us your work on social media!
Use this tutorial to sew a belt! Use the same technique as for the headband to enlarge your size M embroidery strip and turn it into a beautiful personalized belt!  Adjusting the length of your belt:
Start by measuring your waist, then add 60 cm to get a comfortable belt that can be tied.
Next, cut a fabric strip 17 cm wide by the length you calculated.
All that’s left is to follow the previous steps to sew your personalized belt!
    To stay up to date with all our news, join us on Facebook and Instagram at Un Chat dans l'aiguille:   |